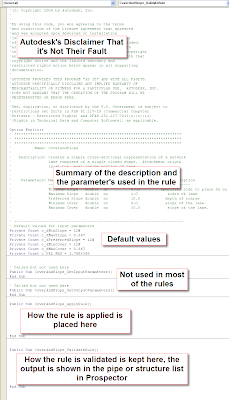
The _ApplyRule part tells Civil 3D how the rule should be applied. This part is where you want to tell the program how to apply the rule. I usually start with an existing rule that is close to what I want to accomplish and then modify it to meet my needs.
The _ValidationRule part tells Civil 3D how it should check to see how the rule is to be checked. If you don't want a warning message to show up in Prospector, just leave the code portion blank.

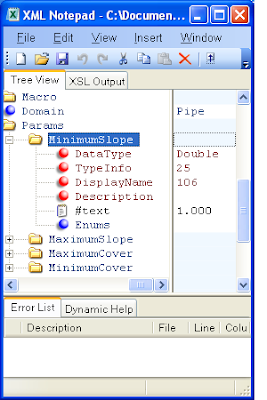
When you set up the XML file to tell Civil 3D what values to use, you probably want to have the user see the correct number format. Civil 3D uses a numeric code to determine what format the number should be. It is stored in the XML file under the TypeInfo under the Params folder. Type 25 is a percent number, Type 16 is feet or meters. Those are the two types used in the rules, I haven't tried to figure out what the other numbers do, so I can't provide what they do here.

While this isn't a complete list of steps to create the rule, it should provide a little more insight on how to create your own custom pipe rules.
No comments:
Post a Comment