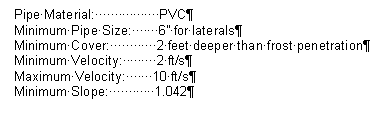
I'm reviewing a document for a submittal and I've noticed that the original creator of the portion of the document used spaces to align the information that he wanted to show. While this is great for the first time, any revisions to the words causes you to have to redo the spaces. An easier solution is to use tabs. Tabs allow you to go a set distance from the last letter and align the text after the tab to be left, center, right, decimal or bar. For this example I'm going to show the center and left. the original text looks like this:
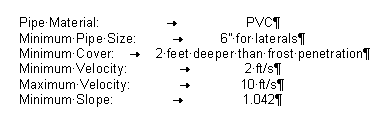
Now I'm going to add tabs instead of the spaces and get this result. Not really the look I'm going after. I'll add custom tabs to these lines. To do this select all of the lines and double click up on the ruler or go into Format => Tab on the menu bar (don't have the latest and greatest Office program installed to see where it is on the Ribbon).
The results are below:
 If I highlight all the rows and double click on the ruler on a tab the dialog will come up and I am able to change the tabs (if you are just in one row or highlighting one row you will only affect that one row). In this case I'm going to delete the previous tab and add a new one at 4" and make the alignment right:
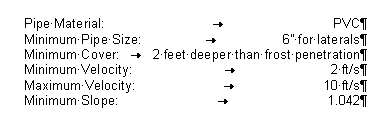 You can also move the tabs by dragging them in the ruler. They are the black characters on the ruler that look like a backwards L (alignment Left), an upside down T (alignment Center) and an L (alignment right). You can add multiple tabs to one row. This feature also works great for headers and footers if you want text both right justified and left justified.
2 comments:
This information is by now (June 3, 2009) out of date -- does not apply to the newest version of MS Word.
HELP!
It still works in the current version. You may have to go to the view portion of the ribbon and check the ruler box to get it to show up.
Post a Comment