So in the last post I highlighted Lou's post, now lets create a new report to create a profile from the points. The first step is to open the Station Offset (Report_PointsStaOffset.dvb) to Points VBA file located at:
C:\ProgramData\Autodesk\C3D 2009\enu\Data\Reports\vba\
Now type VBAMAN and do a SaveAs of the file. Next open the ProfileSample.dvb file in the folder below:
C:\Program Files (x86)\AutoCAD Civil 3D 2009\Sample\Civil 3D API\Vba\Profile
The profileSample c ontains the code to create a profile and the Station Offset report takes a list of points and compares it to an alignment. The first step is to export the Profile Module out of the ProfileSample file. Right click on the Profile module and choose Export File...
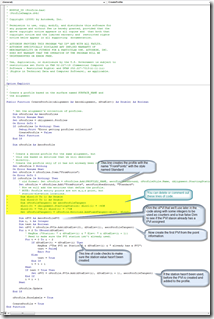
Now import the module into the PointsStaOffset file, by going to File on the menu bar and Import File and choose the file you exported. Next we'll remove a bunch of the code we don't need. This picture highlights the code that can go.
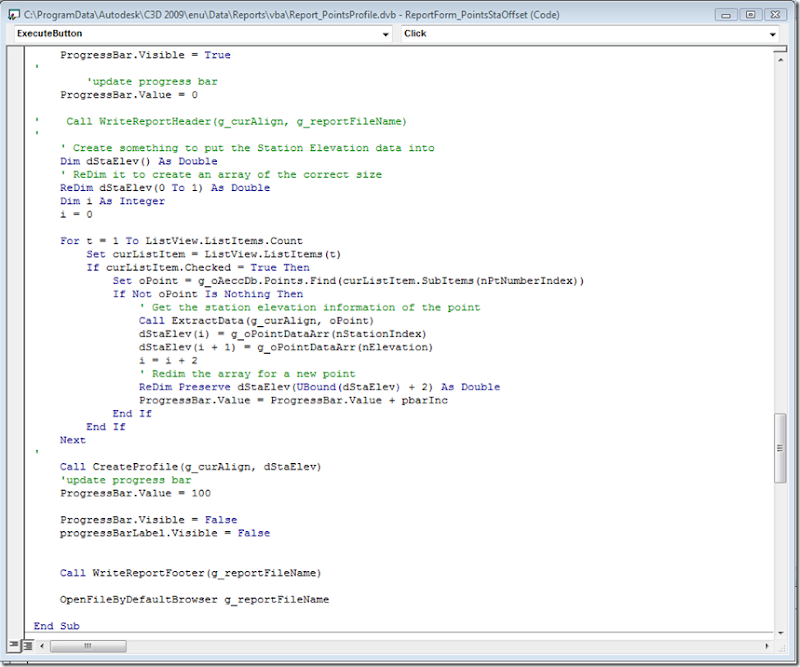
Now Double click on the ReportForm_Points to get the form to pop up and then the Create Report button to get the code that happens when the button is pushed, picture.
So now lets change the code to have the program get the station and elevation information from the points. The code is below. The first step is to create something to hold the station elevation information. We will do this with an array, the Dim dStaElev() As Double will do that task. As we fill up the array I had it re-dimension for the next point. The Call ExtractData will send the alignment and point to another place in the code to get the station and elevation for the points.
If you run the code at this point you will get a type error. A double is a collection of numbers and the ExtractData returns strings, which the program won't like. So change the ExtractData function to return numbers instead of strings as shown in the picture below.
Next lets change the CreateProfile code to match what we need. Most of the code changes have been noted, I may have missed some though. Things to note is that the profile name is hardcoded as "FromPoints", so if you want it as something else, go ahead and change it. It also, by default, uses a style name of "Standard" if you want it to be something else, just go ahead and change it to what you want. If a profile for the alignment already exists the code won't work or if the Standard style doesn't exist the code won't work.
Once you make all of the changes you should be able to add it to your Toolbox and run it from there or load the dvb file using the vbaload and then vbarun and choosing the macro from the list. There are also improvements that could be made to the routine. For instance letting the user select the style to apply and specify the name of the alignment.
If you have any questions or I missed something, just post a comment or email me at Christopher@Civil3DReminders.com
If you don't have the time to make the modifications to the file you can purchase the completed code from this website for $20, it currently only works in 2009 but I can provide other earlier versions if requested:


1 comment:
Christopher, Firstly - Nice post, very usefull indeed.
I've a good suggestion for this.
You could add a line of code to test the gradients between each point and if they match omit them, I suppose you could also go mad and add a section to add a PVI Curve where the gradients differ from each other.
That way it would be doing a curve fit and line fit through the points creating a true profile without manual intervention.
Post a Comment